Posts in behind the scenes
Custom clip on Flower earrings

Did you know that I can make almost all of my Shh earrings as clip on earrings if preferred, at no extra cost? All you need to do is ask :-)

These Flower hoop earrings were made as clip ons, and aren’t they fabulous!

Shop the Flower earrings here.

Sadie xx

PS do you remember when they were featured on ITV’s This Morning?! Exciting!!

THE perfect colourful festival wedding inspo!
Colourful festival style wedding ideas boho bride

Looking for colourful, bright and bold wedding decor inspiration? You’ve come to the right place!

This DREAM shoot was inspired by the little ol’ Shh by Sadie Pink Parrot earrings and Bananas cuff bracelet! Essex-based wedding photographer Chloe Lee saw the bright, bold jewels and had an amazing vision for a festival-themed photoshoot.

Teaming up with other independent creatives and businesses, Chloe shot this editorial at Browning Bros in Essex.

It has made me dream of warm evenings, colourful accessories and laid-back laughter.

See more colourful wedding photos below + scroll to the end for a list of suppliers involved.

You can also check out more Shh by Sadie bridal inspo here.
Sadie xx

essex wedding inspo festival themed wedding

Here’s the dream team for your perfect boho-bride festival style wedding!

Photography / @chloeleephoto 
Venue / @browningbros 
Glitter / @luxuriousglitter 
Model / @emmzstagram 
Backdrop / @wildernessprophire 
Flowers / @rosedecorstyling 
Cake / @tinysarahscakes 
Makeup / @alexandrasullivanmua 
Furniture & Props / @anthologyvintagehire 
Dresses / @lucy_cant_dance 
Jewellery / @shhbysadie

Mollie Makes beaded purse tutorial
Mollie Makes purse tutorial shh by sadie

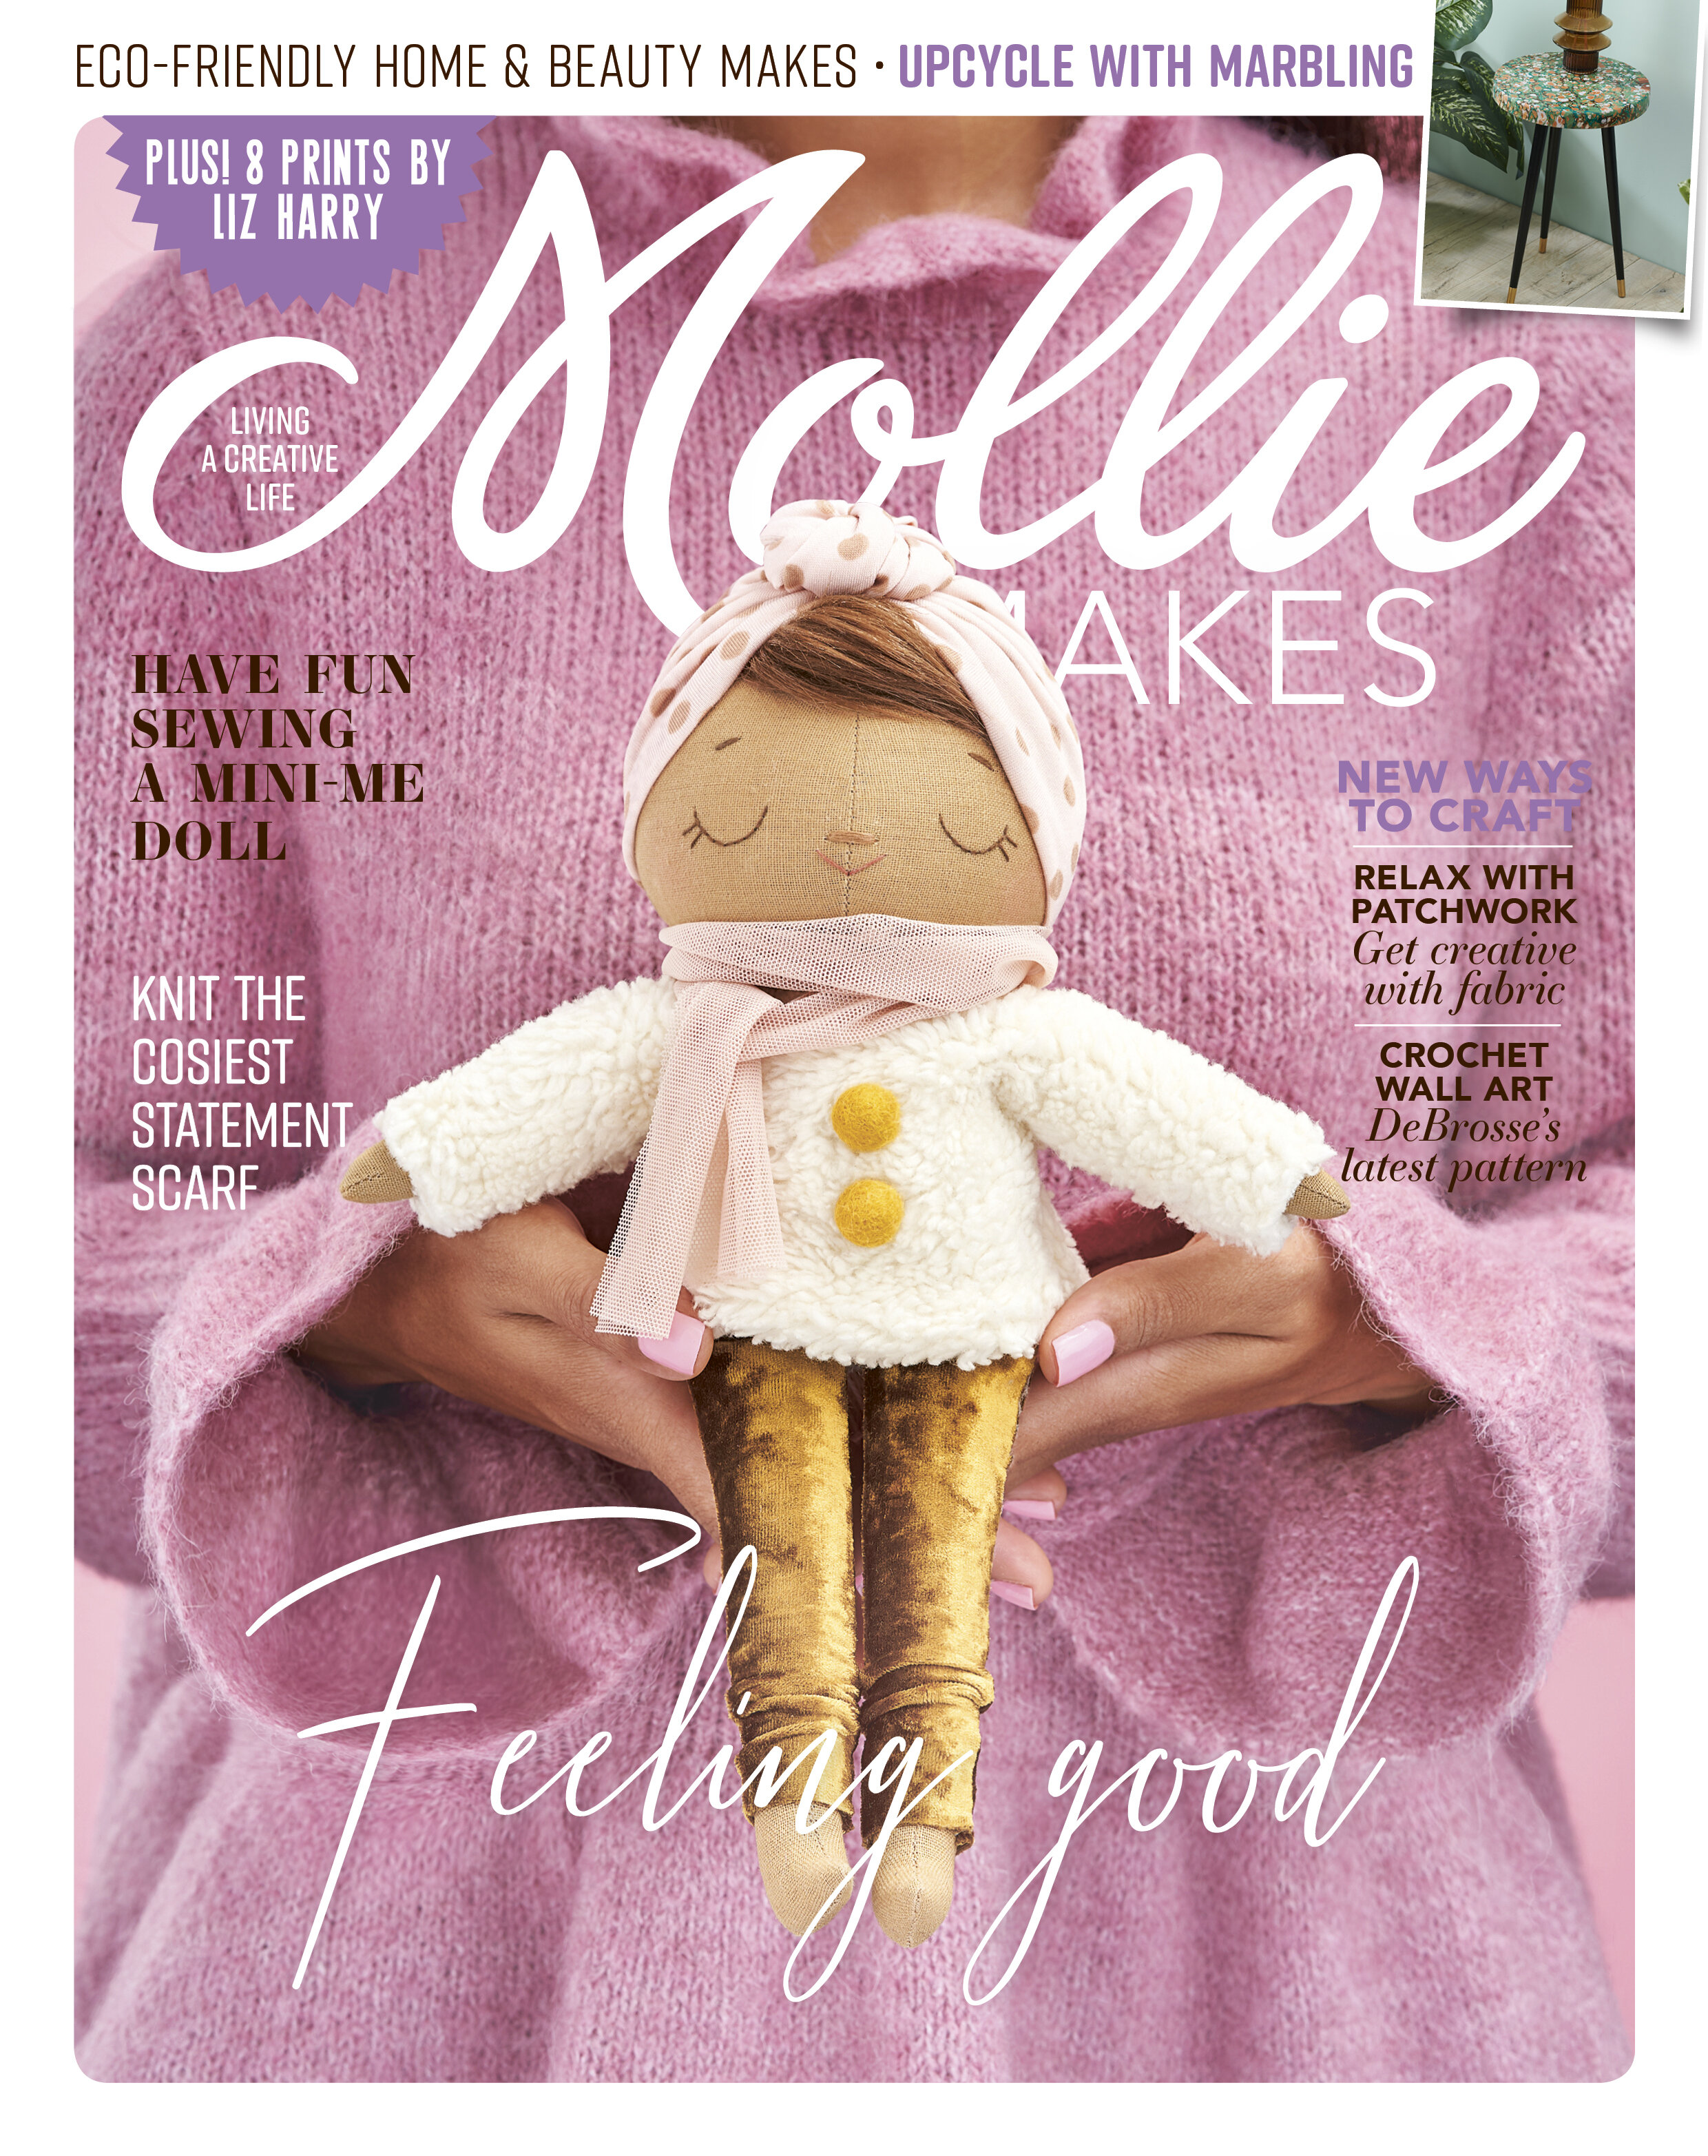
Last month I was rather delighted to see my second ever Mollie Makes tutorial published in their magazine! (Do you remember my first tutorial, the woven beaded necklace?)

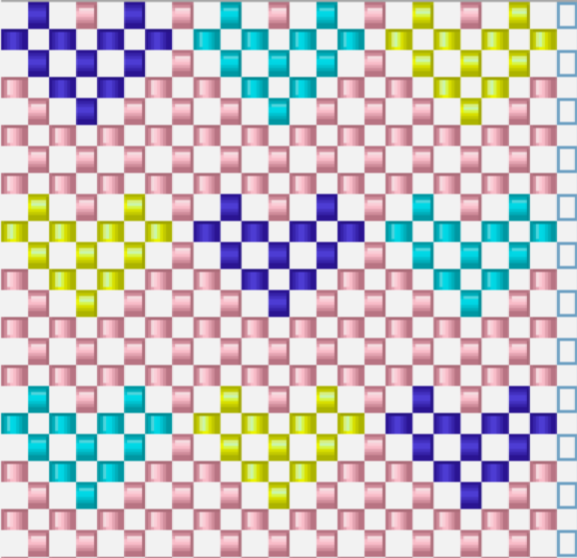
This time I was asked to design a beaded purse pattern and tutorial, taking inspiration from the beautiful beaded bags and purses by Shrimps and Susan Alexandra. My biggest hurdle was not that fact that I’ve never created anything like this before in my life (which was SCARY!), but was actually finding ROUND glass crystal beads! LOL.

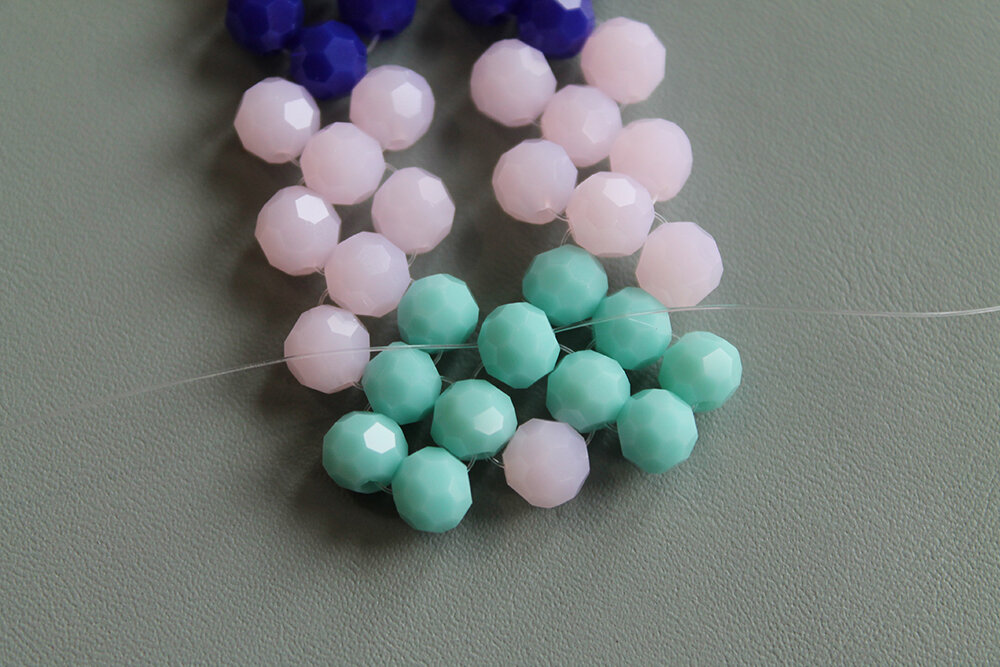
I specifically wanted to use glass beads rather than plastic acrylic beads because I wanted my purse to be fancy! Which did make it difficult. Not only are plastic beads much cheaper, but you can also find them in a wide variety of bright bold colours (which as you know, I am a fan of). But I wanted glass!

Glass crystal beads aren’t too hard to find, but they are almost never round! Argh. I spent hours trawling the internet using all kinds of varied search terms but kept coming back to doughnut shaped beads. Which are lovely, but just don’t work as well for the purse design as round ones.

Eventually I discovered that Beads Direct stocked round, glass beads in a handful of colours, and I chose ones that I thought would work well for my design. I mocked up my pattern on my computer, and then started to teach myself how to make it. Like I said, I had never made ANYTHING like this before so it was a bit intimidating, but I had to give it my best shot!

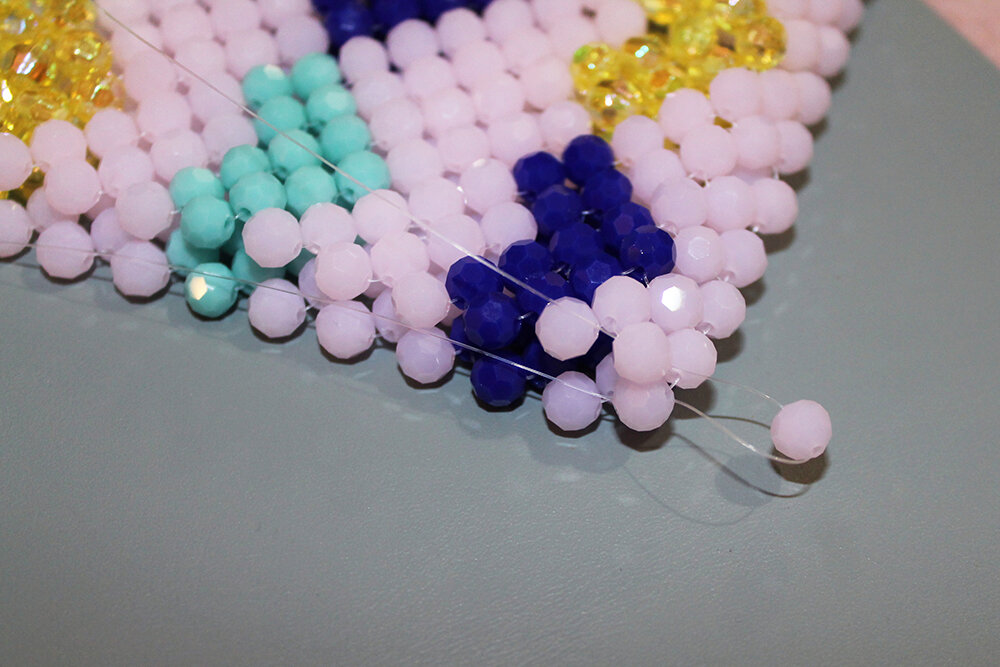
Little by little I constructed parts of the purse, and then many hours later I finished it (I did have to stay up very late a couple of times!). I had expected it to be a rough draft, but it looked so good that I didn’t have to make a ‘finished’ version, I could use the first one! Which was so surprising, and of course saved a lot of work!

I had to send my little purse to Mollie Makes for them to photograph for the magazine, and I was very sad to do so because I didn’t want to say goodbye to it (insert laughing emoji here!). I was so proud of it I wanted to keep it so I could keep looking at it :D

I have since accidentally bought non-round beads to make another purse for myself (dammit!), and then didn’t like the colours together, so have had to buy other non-round beads to replace the one colour I didn’t like. So I will get there eventually, and I’ll share it on here when it’s finished.

What’s something that you’ve been super-duper proud of yourself for making?

Sadie xx


Explore more Shh news

Three of a kind: colourful one of a kind charm necklaces!

I recently rediscovered these statement charm necklaces I made a couple of years ago - at the time I was obsessed with braiding brightly coloured embroidery thread with chains, and then add layers and layers of colourful, quirky charms. I used vintage, upcycled and new charms, crystals and wooden animals. The more, the merrier!

I made one of the necklaces below for myself, can you guess which one?!

I still have a lot of charms so think I might make a few new necklaces for 2020, I think they’d make the perfect statement necklace for a sunny evening, a festival, or a holiday - so watch this space! :D

Sadie xx


Explore more Shh news

Miyuki Beaded Mascot Kit Review - No.31 Flora Rabbit Charm
Miyuki beaded rabbit
Miyuki delica mascot kit rabbit

This blog post is for the geekier people out there like me!

Way back when, in 2015 (how is it so long ago already?!), I ordered the Miyuki Mascot Fan Kit in this cute little bunny rabbit, and was delivered to me all the way down under in Wellington, New Zealand, from the USA.

Well I opened it, looked at it, got totally confused, and swiftly put it away again. Then when we relocated back to the UK in 2016, it got put in storage amongst one billion other beaded things, and completely forgotten about.

THEN in January this year, we took our belongings out of storage after nearly 3.5 years, and I rediscovered the kit! I’ve spent years making jewellery using a traditional bead loom, and have slowly tried to teach myself other beading techniques, but I’d still never managed to make a beaded figurine.

But now I felt like I was ready to give this little rabbit another go!

The instructions weren’t that user-friendly. I am not very good at learning from written instructions, I prefer demonstrations, so this was probably partly my problem. But the kit comes with everything you need to create the little rabbit, and includes duplicate beads in case you lose any (which I thought was really handy).

You follow each step to create a different element of the rabbit - for example, its ears, its feet, its hand or tail, and then towards the end when you have created all of the pieces, you put them together. It was actually really exciting when I managed to finish my first section, because never thought that I’d have been able to.

And then when I finished my whole rabbit, I almost danced! (Well, I probably did dance.)

I didn’t add the metal keyring attachment to its head because the closure didn’t work on it, and I don’t really know what I will do with my rabbit yet, so have placed it on a shelf!

It took 2-3 hours to complete the kit and I am so thrilled with my little rabbit, I have already ordered the bear version of the kit, which I will save for a quiet evening in :-)

What do you think of my little bunny? Have you ever tried something, given up, then gone back to it at a later date and found that you could do it? The moral of this story is, don’t give up!! :D

Sadie xx


Explore more Shh news